Adobe Photoshop Tutorials, Tips and Tricks
|
||||||||||||
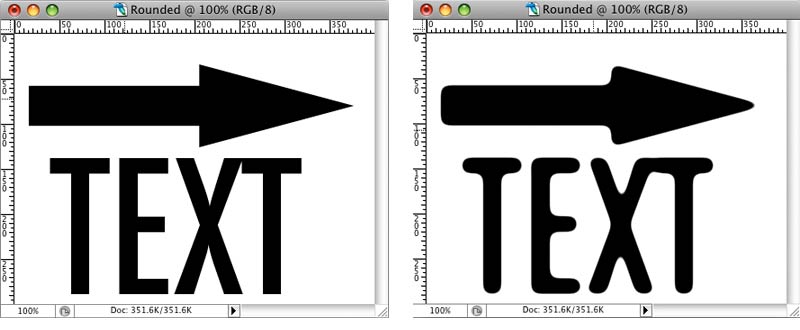
Creating Rounded Smooth EdgesOccasionally there is the need to smooth out hard edges on fonts and graphics or clip art in Photoshop in order to achieve the effect you want. Rather than spend time trying to manually redraw or shape the image by hand, smoothing can instead be handled by Photoshop using only a few quick steps, saving much time. This free Photoshop tutorial provides a quick trick that can be used to achieve this. In the following steps, we'll learn how to go from the image on the left to the one on the right:
|
| |||||||||||
1We'll start off with a blank canvas using File > New. I chose a white background of this size:
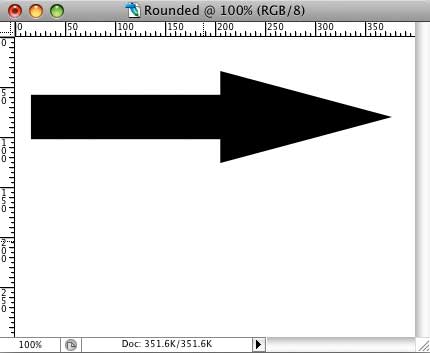
2To demonstrate the effect, I used a simple graphic and some text. For the graphic, I just drew an arrow using the custom shape tool
Then use the mouse to draw an arrow in the upper portion of the canvas like this:
|
||||||||||||
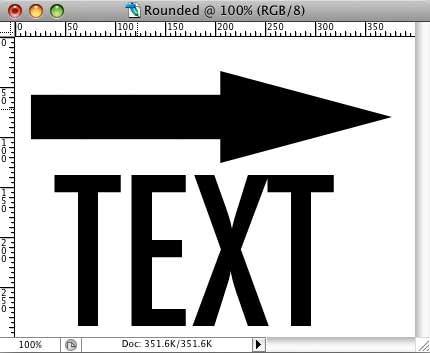
3Now we'll add a little text to show how the rounded edge trick will affect it. So select the Text Tool
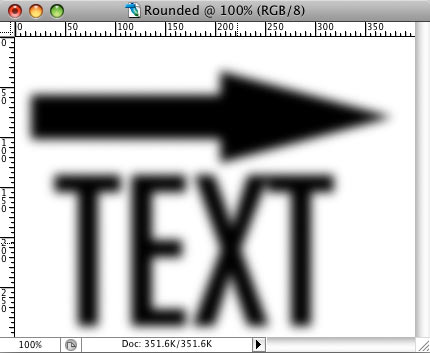
4We'll begin the smoothing process now by blurring all the edges. Select Filter > Blur > Gaussian Blur and use a radius of 5 pixels. Depending on the size of the objects in your image and how much rounding you want, you may need to use either a higher or lower radius value, so feel free to experiment. Here's the result so far:
|
|
|||||||||||
|
|
||||||||||||
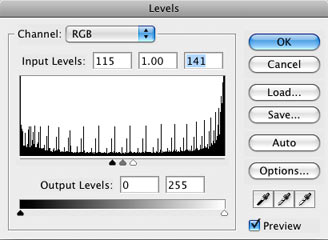
5Finally, we'll smooth out the blur with a contrast adjustment which will leave some nice smooth and rounded edges. We could use Photoshop's contrast adjustment directly, however the Levels adjustment provides better results. So choose Image > Adjustments > Levels or use the keyboard shortcut command-L (control-L on Windows). In the dialog, make these settings:
The way this works is that the blur we applied in Step 4 effectively smoothes out the edges, then the contrast adjustment we did via the Levels dialog increases the image contrast thereby removing the gray pixels around the edges. The edges now have high contrast which makes them crisp and lets the smoothness from the blurring step show. Here's our final result:
|
||||||||||||
Thanks for visiting with the Photoshop Dragon.
Copyright © 2007-2010 Curt Schimmel. The contents of this web site may not be copied in any way without permission. Terms of Use and Privacy Policy. |