Adobe Photoshop Tutorials, Tips and Tricks
|
||||||||||||
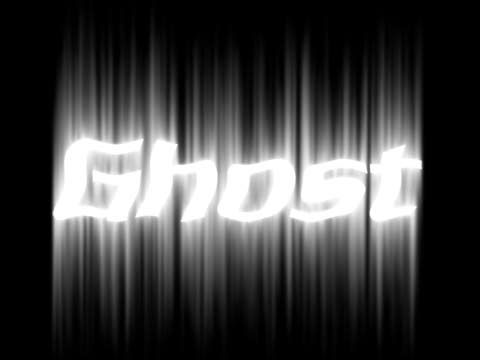
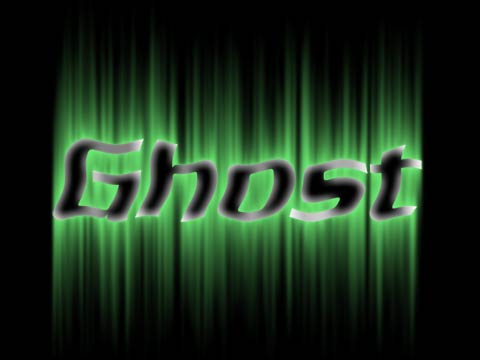
Spooky Ghost Text Effect with AuraIn this free Photoshop tutorial, we'll learn how to make a ghostly text effect with an ethereal aura around it. This is easy to achieve and makes a great effect for Halloween or horror related graphics. The example presented here applies the effect to text, but it works just as well with any kind of clip art style object. Here's the finished product of what we'll learn to do with Photoshop in this tutorial:
|
| |||||||||||
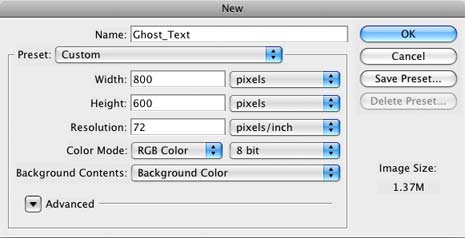
1We'll need a blank canvas to start. First set the default background and foreground colors by pressing the d key, then press the x key to swap them so that the background color is black and the foreground color is white. Now create a document that is 800 pixels wide by 600 pixels high and filled with the background color (black) using the File > New menu option:
2Now it's time to put down the text we want to apply the ghostly effect to. I just used the word "ghost", so select the text tool by pressing the t key or by selecting
3Time to get our ghost text centered within the spirit world. Make sure the text layer is selected in the layers palette, then press command-A (control-A on Windows) or use the menu item Select > All. Now select the move tool by pressing the v key shortcut or click on the
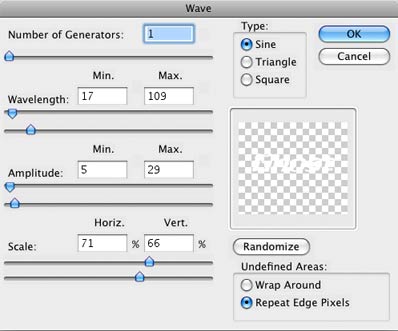
4The next step in this tutorial will be to distort the image a bit to give it a wavy ghost-like quality. First we need to convert the text to pixels, so choose Layer > Rasterize > Type. Next use Filter > Distort > Wave. Here are the settings I used in the dialog that comes up. Feel free to experiment with different values if you like.
And here's the result of the filter. It produces a nice wavy quality that you might expect to see in a ghostly image.
5
|
||||||||||||
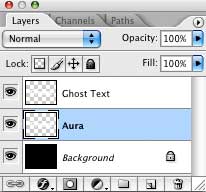
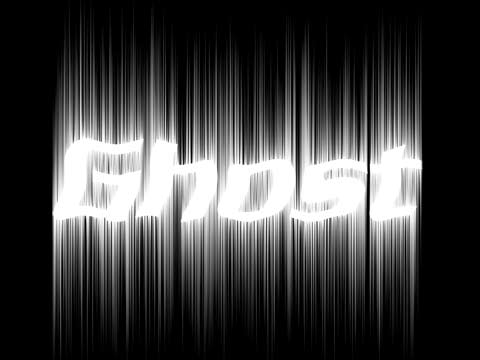
6Now we'll create an ethereal aura to surround the text to give it a spirit-like quality. We'll do this with the Wind filter. However this filter only works going left and right but we want the effect going up and down, so we'll need to use Image > Rotate Canvas > 90 CW to rotate our ghost text 90 degrees clockwise so we can apply the filter properly. This is not uncommon in Photoshop as there are several filters whose effect works only in certain directions. Fortunately, rotating the canvas is a pretty simple step to add. To create the aura, make sure the Aura layer is selected and choose Filter > Stylize > Wind. Choose "Wind" and "From Right" for the options and click OK. The effect will be small and we'll want the effect to be a lot bigger, so hit command-F three times (control-F on Windows) to reapply the filter three more times. Command-F always reapplies the previously used filter again. If you look at the top of the Filter menu now, you'll see that it says Wind. Choosing this menu option is the same thing at typing command-F, and it reapplies the last filter used with the same options. It's a handy shortcut in Photoshop. Now we need to get the aura going in the other direction, so select Filter > Stylize > Wind again but this time choose "From Left" for the option and click OK. As before, hit command-F (control-F on Windows) three times to extend the effect. Finally, rotate the canvas back to where it was with Image > Rotate Canvas > 90 CCW. Here's what your aura around the ghost text should look like at this point:
7We'll make the aura appear more ethereal by blurring it, so select Filter > Blur > Gaussian Blur (make sure the Aura layer is still selected) and choose 2.5 pixels for the Radius and click OK. The aura that will go around our spooky ghost text is looking pretty good now:
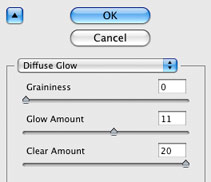
8We'll now turn our attention to the text itself and make it more ghostly looking. Begin by selecting the Ghost Text layer in the layers palette and using Filter > Distort > Diffuse Glow. In the window that opens up, choose these settings:
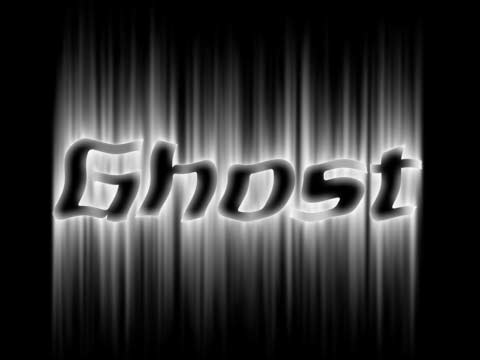
This adds a very nice effect and the text now looks much more ghostly than before.
What we have is looking quite good at this point and you may wish to stop here if this is the effect you want. We'll continue on with the tutorial so we can learn about some additional enhancements we can make with Photoshop.
|
|
|||||||||||
|
|
||||||||||||
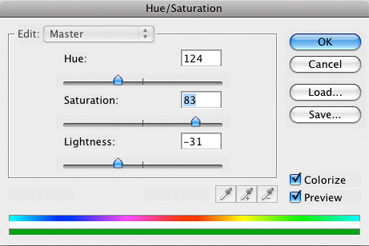
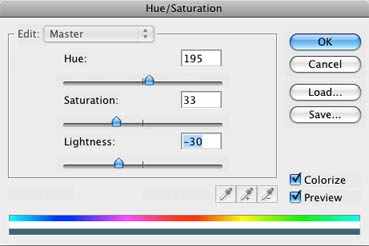
9Let's add some color to the effect now. In particular, we'll see how easy it is to add some color to the aura itself. Begin by selecting the Aura layer, then choose Image > Adjustments > Hue/Saturation. Click on the Colorize option in the dialog that comes up which then lets us change the color of the pixels in the layer to anything we want. I decided to go with a greenish glow and used these settings:
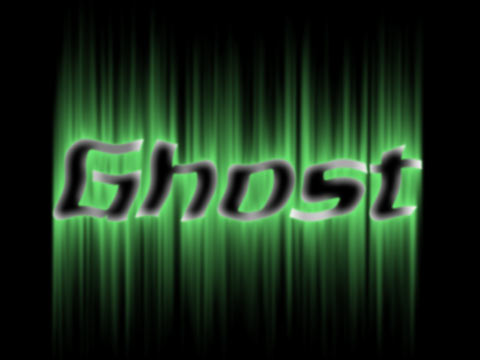
The result is a nice green ghostly aura effect surrounding the spooky looking text:
10We'll do a little more work on the text now. The first thing we'll do is to blur the text a little to make it more of a vaporous looking apparition. Click on the Ghost Text layer to select it and choose Filter > Blur > Gaussian Blur. This time use a radius of about 1.5 pixels. You can use more or less depending on the type of effect you're looking for. The result is this:
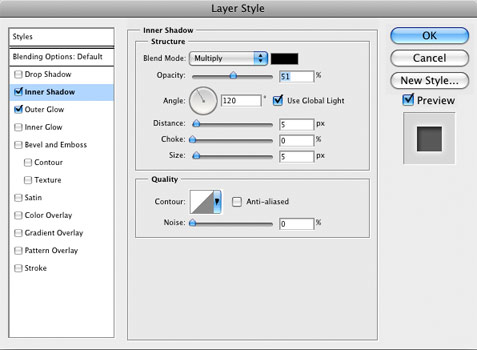
11Next we'll add a layer style to make the ghostly text stand out a bit more. With the Ghost Text layer still selected, choose Layer > Layer Style > Inner Shadow. Use the settings shown below in the dialog but don't click OK just yet since there's more we want to do in the next step.
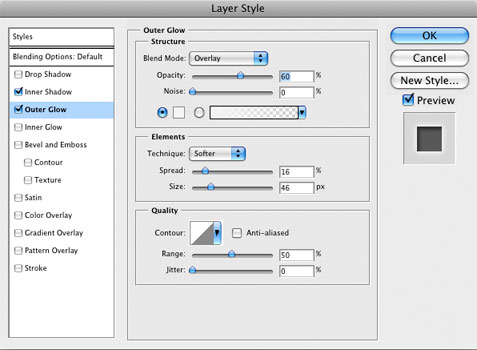
12With the Layer Style dialog still open, click on the Outer Glow option on the left side of the dialog (make sure the check mark is on), and use the settings shown here (note that the color used in the "Structure" section is pure white):
This adds a nice glow around the text so that it appears more vaporous like a true apparition. The Overlay blending mode causes the glow to pick up the color from the layer underneath and the choice of white lightens it a bit yielding a very nice glow.
13For our final step, we'll add a little color to the text. Make sure the text layer is still selected and choose Image > Adjustments > Hue/Saturation. We'll again use the Colorize option. I decided to add a pale blue color to the text, sort of like the color of moon light. Here are the settings I used to get a pale blue moonlight look:
Try different settings and you'll see that you can get a whole range of different effects using different colors and saturations. Here's our final result, and we end this free Photoshop tutorial appropriately enough on step 13. Enjoy!
|
||||||||||||
Thanks for visiting with the Photoshop Dragon.
Copyright © 2007-2010 Curt Schimmel. The contents of this web site may not be copied in any way without permission. Terms of Use and Privacy Policy. |